ros2_control extra bits
There are a few follow-up points regarding ros2_control for our differential drive robot that are worth sorting out before we move ahead with the rest of the tutorial series. I've kept these out of the main video to avoid further detracting from the core explanation of how to get ros2_control up and running.
Update URDF to match robot structure
The first step is to update your URDF to match your physical robot (if you have one). In my case I did the following:
- Set up xacro parameters for all the key dimensions and set them accordingly
- Changed my Gazebo and RViz colours to match the real robot
- Fixed up the controller YAML to have the correct wheel separation and radius
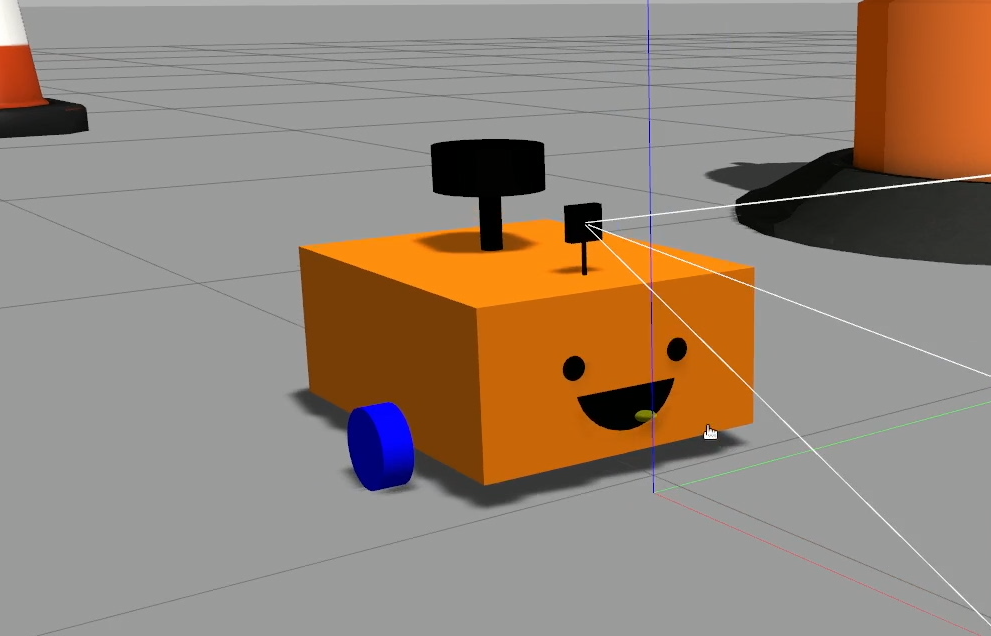
- Added an extra xacro file for a smiley face on the front, like my real one currently has (it will eventually have a screen)
You can check out the differences here.
Swapping between control methods
We will generally want to use ros2_control but in case we are having trouble it is nice to be able to swap back to the Gazebo built-in control. Taking the steps below will let us easily swap between the Gazebo diff drive plugin and the ros2_control one.
Add xacro argument & condition
Using xacro to build our URDF gives us the ability to pass in an argument at runtime to change the result. This could be anything like the length of an arm, the colour of a wheel, but in this case we want to pass in a boolean to tell it whether to use ros2_control or not.
We’ll start by declaring an argument use_ros2_control at the start of our robot.urdf.xacro, and default it to true (we generally do want to use ros2_control).
We also need to add a conditional to change which bit of the URDF is used. Xacro doesn’t have an if-else construct that we may be familiar with, instead it has if and unless which will trigger depending on whether the condition is true, or untrue. So down where we have our gazebo_control.xacro commented out, we instead want to add the blocks below to select which one to include.
So, if use_ros2_control is true, include the ros2_control.xacro file, and unless use_ros2_control is true, include gazebo_control.xacro.
1
Pass in the xacro argument
Now we need to pass the xacro argument we just added in when we process the file, which is in our robot state publisher launch file (rsp.launch.py).
This should be straightforward but actually isn’t. Right now this file is using the xacro Python module to process the file, which is all well and good, and it has the option (don’t type this!) to set arguments by specifying the mappings like so:
# Don't add this!
xacro.process_file(xacro_file, mappings={'use_ros2_control': 'true'})
This is fine, and works as is, but ideally we want to be able to set it at the level above this, to pass it in as a launch argument and because of how launch files are processed, dropping a LaunchConfiguration variable in here like we did with use_sim_time just won’t work.
The workaround is a little hacky but it’s not too bad, especially considering launch scripts aren’t designed to be super python-heavy anyway. Instead of using the xacro Python module we’re going to call the xacro process using the launch Command substitution.
We’ll go ahead and make the launch argument anyway, right under our use_sim_time one.
1
I recently made a change to the GitHub template project to make this step neater. If you cloned an older version then you need to make this small fix. You need to move the toxml() up to the process call rather than when it is passed into the params.
## Was
robot_description_config = xacro.process_file(xacro_file)
...
params = {'robot_description': robot_description_config.toxml(), 'use_sim_time': use_sim_time}

## Now
robot_description_config = xacro.process_file(xacro_file).toxml()
...
params = {'robot_description': robot_description_config, 'use_sim_time': use_sim_time}
Currently the params is taking in a string. But because it is a part of the clever ROS Launch system, instead of a string it can also take a substitution. So we'll take advantage of the Command substitution, and replace the robot_description_config assignment to a call out to the xacro process rather than the Python module. Make sure you also add the appropriate import at the top.
1
This line is just constructing a command that could be typed into a terminal, but instead it’s going to run it inside the launch script and use the output. We can see that use_ros2_control (a LaunchConfiguration argument) is used in this call, so at runtime it will substitute that for whatever is passed in, then substitute the result of the whole command into the robot_description_config variable as a string.
Pass in the Launch argument
Then in launch_sim.launch.py where we were including our robot state publisher launch, we can set it to whatever we want by updating the launch_arguments line when including rsp.launch.py:
1
This is what I demonstrated in the video, however it would be nice to be able to toggle it at runtime, i.e. by running:
ros2 launch my_package launch_sim.launch.py use_ros2_control:=false
There are actually two ways to achieve this. The first is to...do nothing. If we undo the previous step where we passed down the launch argument, we'll find that we are able to set it at the command line and it will automatically find its way down to where it needs to be.
Alternatively, we can create another launch argument, this time in launch_sim.launch.py (probably with the same name), and pass it down as per the code below. This will have the same effect, but is a bit more explicit.
We should probably also disable our ros2_control spawners when that mode is disabled...instead they will try to start and just fail.
1
RViz Config
One last thing I did was to set up RViz the way I liked it and saved the configuration to the config directory so that it can be loaded back up again in future with rviz2 -d.
Conclusion
Now that we've got those things tidied up a bit, we can move forward with ros2_control on our robot, and then start to run some algorithms!